
BEAM is one the most well known and oldest central vacuum brands on the market today. They make products that are enjoyed for their sleekness and sometimes futuristic designs. All central vacuum units are fully serviceable, including BEAM units. Our troubleshooting list can help you solve any problem that may arise with your central vacuum.
Is the BEAM central vacuum still in business?
Beam Industries became known by its current name, Electrolux Central Vacuum systems in 2007. They now market central vacuum systems under the brand names of Beam, Electrolux, and Eureka.
If you’re using a Beam central vacuum system, you won’t ever have to worry about cleaning the filters or screens. The HEPA self-cleaning filter in Beam central vacuum systems can clean itself whenever the system is turned off.
Central Vacuum Repair & Troubleshooting Solutions
Fortunately, most inlets are industry-standard and can be replaced by the same type of inlet valve if the original brands aren’t available. If unable to locate the correct replacement, please contact our customer experience team member or a local Central Vacuums dealer store.
#1 Electrical failure.
- If the inlets are Super valves, plug the power brush directly into the valve. If the power brush works, the problem is in the high voltage lines in the hose – likely a blown fuse in the hose, but also look at #14.
- Check the brush for an incorrect neck tilt switch or reset switch.
- If the motor is bad, you can test it by connecting the power directly to the brush motors.
- Make sure the hose and brushes connections are secure.
- Check to see that Super valves/Electro valves have 110 volts.
#2 Clog somewhere else in the system.
- Check the power brush.
- Check wands.
#3 Unclog the vacuum tubing.
- Check the fitting just inside the inlets and just inside the power units for debris.
- To isolate exactly where the clog is, run one numbered styrofoam ball through each inlet. Look for which balls made it to your power unit.
- Disconnect the built-in vacuum from its vacuum lines and suck from the inlet that has the problem using a portable household vacuum
- Hook the objects together using the electrician’s fish tape.
- Plug in the inlet, place your hand over the hose end to build pressure and then suddenly release. Try this a few times.
- Run a paper towel through as a “pig” towards the motor units, then reverse suck with an aspirator to jar it.
- Run paper towels through from the motor unit towards the non-functioning inlet.
- * Important note: Now run a paper towel thru all inlets and make sure they all arrive in the power unit. If they don’t, repeat steps 1 thru 6.
- * If these solutions won’t free up the line, estimate where the clog is and see if it’s accessible. (attic/crawl space/closet.)
- Check for leaks by cutting the pipe and feeling the suction and visually inspecting.
- Run paper towels through and listen for hums or vibrations. Possible nail in pipe or picture hanging with toggle into pipe.
- Run a small rope through the motor unit and out the inlet. Then tie a larger rope to the smaller rope and attach a heavy object to the larger rope. Always tie a safety line to the heavy object so that you can pull it back if needed.
- To find the exact location, create noise with a ping pong ball and insert it into the inlet. Turn on the unit and remove the inlet to retrieve the ball. Find the least obvious ways of lifting flooring or removing the back of the cupboards or ceilings to access clogged spots in them. Cut pipe, remove blockage, patch back access.
- Run a paper towel down each outlet again. If one outlet is clogged and cannot yet be fixed, move a new pipe by relocating an old pipe using the existing installation method.
- Underground pipes can sometimes clog with debris from water.
- Reroute debris with a long blunt object.
- Run 10 pounds of rice thru system into a unit, repeat.
- Trench old lines and replace them.
- If lines run under concrete driveway, relocate power the units to a more accessible area.
- Reroute pipes from sections that don’t work to sections that do work.
- Check for “wrong way” Y’s or T’s.
- Any recent construction or contractors who might have driven nails into pipes (e.g. closet, phones, internet or alarms)?
#4 Bad inlets – replace inlets and plugs.
- Make sure the old inlet is the same type with contact points. If not; it may have a push button that requires a latching relay.
- If the old inlet looked like it was taped up, then you should tape it the new inlet as well. Before reinstalling the vacuum, test it for air leaks. If slight hissing comes from the inlet; additional tape is required on the inlet neck.
#5 Low voltage by wire cut.
- Recent construction done?
- Rats?
- Detached garage with unit located in garage? Recent digging?
- Re-splice copper wires together and tin wires together.
- Run wires from any working inlet/power unit to any section of the inlet that doesn’t work.
# 6 Clog in the central vacuum hose.

- Reverse the hose at the inlet on the power unit. Suck it out.
- Drop a heavy object thru hose and squeeze and twist the hose to get it through. We do not recommend using a plumber’s snake because the vacuum pipe has a much thinner wall than plumbing pipe.
- Use a garden hose through the vacuum hose (don’t turn water on!).
# 7 Unit is good, but the pipes have leaks.
- Recent work done on house?
- Recent wallpapering or paneling? Inlet removed or re-installed wrong?
- Inlet lid broken?
- Hidden or forgotten inlet?
- Floor inlet installed; pipe fell down or loosened.
- Turn on the unit and walk around the house listening for a leak sound.
- Inlet roughing in but not found on the finished surface?
- Underground pipe has broken recently, but hasn’t been repaired yet.
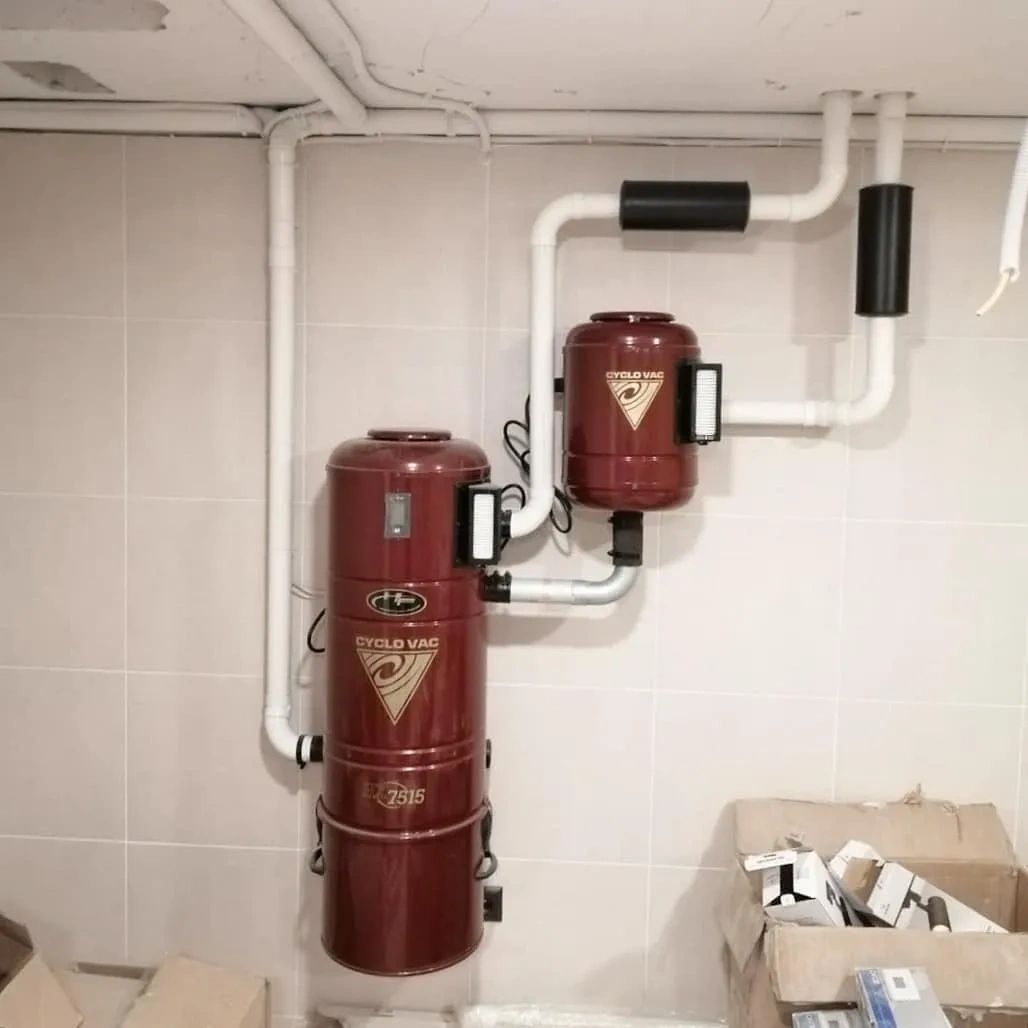
#8 Bad suction at the power unit.
- If multi-motored units: are both working?
- Check for power unit gasket leaks and cracks in the housing.
- Improper voltage into your power unit.
- Wires that are loose
- The mini-breaker has failed.
- When there is a blockage in a cyclonic system: 1) Unit & debris in motor fan blades, 2) Lint & debris on screen on intake, 3) Too much back pressure from exhaust run being far away.
- On bag type units: There is excessive amounts of very fine plaster dust blocking the primary and secondary filters.
- Motor loose.
#9 Short in power unit.
- Directly isolate low voltage leads alone (disconnect all auxiliary switches).
- Short in relay (very rare).
#10 Short in low voltage system.
- Recent attic work or someone in crawl space?
- Rats chewed through wire?
- Disconnect any splices you can find and check continuity of short.
- Worst case: re-route wire from any other working inlet or wire. (Possibly running wire behind baseboards, under carpet, in closets, or in air ducts.)
#11 Relay getting power but not starting unit.
- Most likely motor brushes.
- Isolate motor & see if it works.
- Check wiring from relay to motor: Does it go through the mini-breaker?
- After replacing brushes: if it won’t take them; replace the motor.
#12 The power unit is not getting electricity.
- Check the house circuit breaker.
- Try vacuum in another outlet.
- Is the circuit breaker the right size for the power unit?
- See what is on the circuit – is it overloaded?
- Continually recheck the system after you get power to see if it was the vac that had tripped the circuit.
- If necessary, have an electrician look at it.
#13 Transformer and motor not getting power.
- Bad cord?
- Bad transformer, check for spark between 2 low voltage wires out of the transformer.
- Bad relay, check points, arc across to see if it solves it.
#14 Low voltage in the hose is not working.
- If the switch feels “mushy” then it needs to be replaced.
- Remove the hose from the wall and take apart the handle end. Look for lint or other debris in contact points.
- Make sure the hose is being fully inserted into the inlet.
- Hose may need to be replaced.
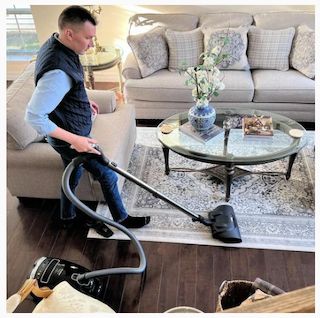
We are the local experts for installing central vacuum systems (also called built-in vacuum systems) and performing repairs for residential, offices, commercial in general, warehouses, veterinarian offices, doctor’s offices, hangars, and many more.
We also sell and repair household conventional vacuums.
Our Central Vacuum Specialties: New Construction, Projects Hide-A-Hose (retractable Vac Hose), Builder Prices, Remodels & Retrofits, Replacement Vacuums, Service & Repair for all major brands including: Cyclovac, Vacuflo, Beam, Nutone, AirVac, Eletrolux, and Central vacuum accessories. Contact Us Today!